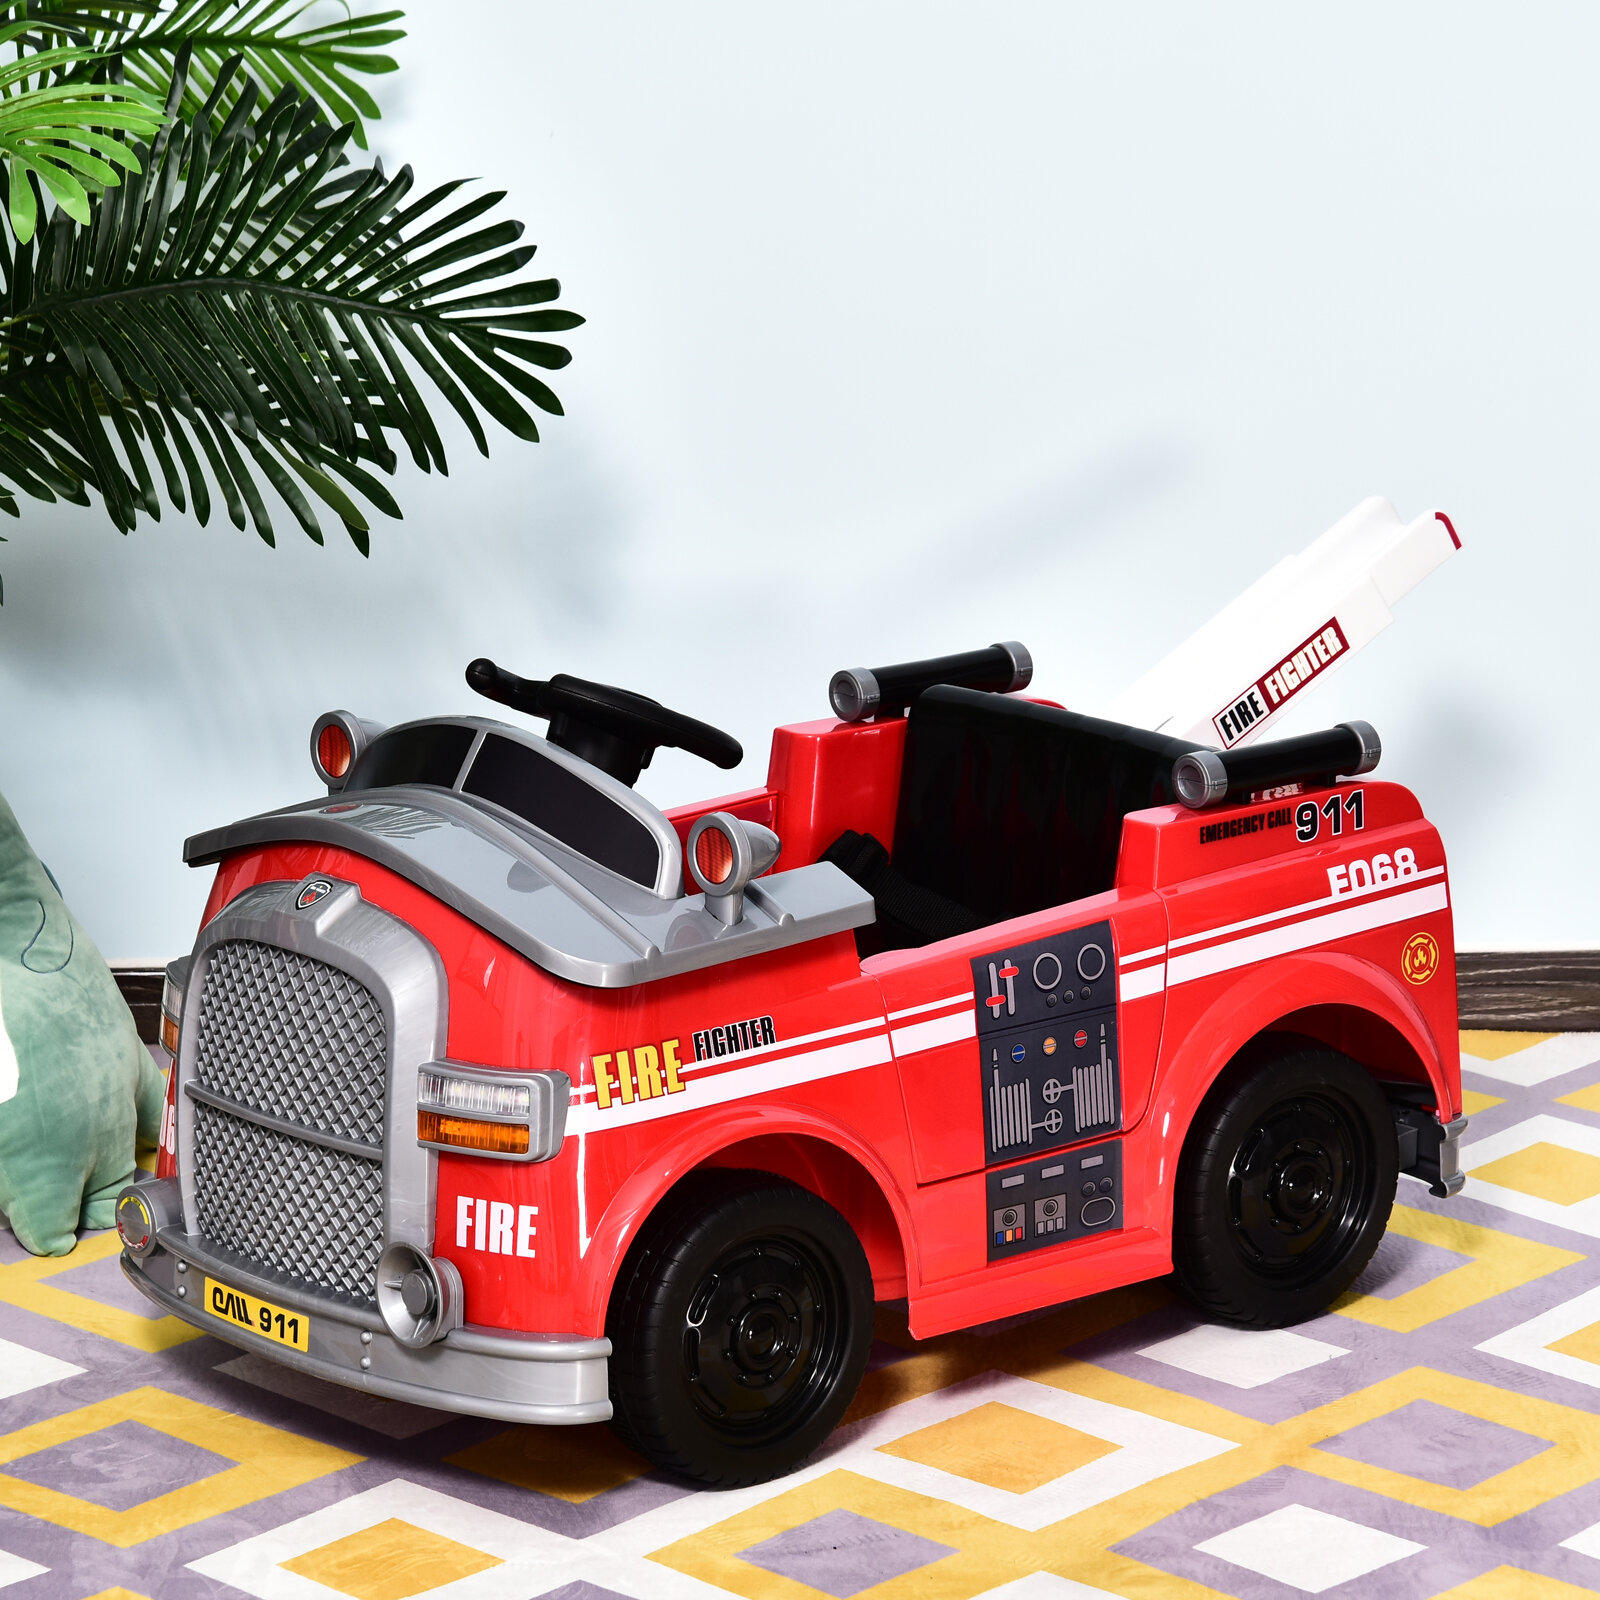
A remote control car is a great way to keep your kids entertained. Here’s how to make one that they can ride on. You’ll need:
– A remote control car – A piece of plywood – Some carpet or foam padding
– Duct tape First, cut a piece of plywood to fit snugly on top of the car. This will be the seat.
Then, cover the plywood with carpet or foam padding to make it more comfortable. Use duct tape to secure the padding in place.
- Get a car remote control that is compatible with your car
- Make sure it has batteries in it
- Find a flat surface to put the remote on
- Place the front wheels of the car on the ground and engage the handbrake
- Put the remote control next to the front wheels of the car, making sure that the arrows on the remote are pointing in the same direction as the front wheels of the car
- Press and hold down the “forward” arrow on the remote until the car starts moving forward (you may have to press down quite hard)
- Keep holding down this button until you want the car to stop moving forward
- To make your car go backward, press and hold down the “reverse” arrow on your remote control until your car starts reversing (again, you may have to press down quite hard)
- Keep pressing this button until you want your vehicle to stop reversing
Credit: www.wayfair.com
How Do You Program a Ride on a Car Remote?
If you have a car with remote start, you can program it to start automatically at a certain time. To do this, first find the button on your remote that says “program” or “auto.” Press and hold this button for three seconds.
Then, use the arrow keys on the remote to set the time you want the car to start. Once you’ve set the time, press the “program” or “auto” button again to save your setting.
How Do You Make a Power Wheel Remote Control?
Assuming you would like a tutorial on how to make a power wheel remote control: You will need: -1 Arduino Uno
-1 L293D Motor Driver IC -2 AA Batteries -1 Battery Holder for AA batteries
-Jumper Wires -100kOhm Resistor (Brown Black Brown) First, gather your materials.
You will need an Arduino Uno, a L293D motor driver IC, two AA batteries, a battery holder for AA batteries, jumper wires, and a 100kOhm resistor. The resistor should be brown black brown. Hook up the power to your L293D.
Take note of the orientation of the chip as you insert it into your breadboard – the half with the notch goes on the left side. Next to that is where you’ll insert your two AA batteries into the battery holder. The positive end of each battery should be facing towards the outside of the breadboard so that when you plug in your power cord it will go into the positive rail and out through one of those red + symbols you see printed on every row near where we inserted our chips.
. After that, connect the ground from both batteries (-) to any available GND spot on your board. Now we can begin wiring up our motors!
Wire up each motor according to the diagram below. If you have any questions about which pins go where, please refer back to this picture or datasheet (pages 7 & 8). All right! We’re almost done – now we just need to wire up our potentiometer (or speed control knob). This is really easy – just take one end of your potentiometer and connect it directly to 5V+. Then take the other end and connect it through your 100k resistor to GND-. Finally, take the wiper (the middle pin) of your potentiometer and connect it directly over to pin 9 on our L293D chip.. And that should do it!
How Do You Use a Toy Car Remote?
Assuming you would like a blog post discussing how to use remote control for a toy car: Most toy cars come with a basic remote that allows you to move the car forwards, backward, and sometimes turn it. More expensive models may have additional features like lights and sounds.
Here is a basic guide on how to use a toy car remote:
1. Insert the batteries into the remote control. Make sure they are installed correctly according to the + and – signs.
2. Turn on the switch at the back of the car. This will usually be located under the hood or near the battery compartment.
3. Press gently on the accelerator pedal to make the car go forward.
The further you press, the faster it will go. To make it stop, simply release pressure on the pedal.
4. To make the car reverse, press down on the reversing button (this will be clearly marked).
Just like with moving forwards, how hard you press will determine how fast it goes in reverse gear.
Can You Make a 12V Ride on Car Faster?
You can make a 12V ride on a car faster by upgrading the battery to a higher voltage, adding a motor with more power, or both. Most 12V ride-on cars come with lead-acid batteries, which are not very efficient and can be upgraded to lithium-ion batteries for more power. You can also add a brushless motor for more speed.
Home Made Electric Ride on Car with Remote Control
Universal Remote Control for Ride on Car
As a kid, there was nothing more fun than taking your ride on the car for a spin around the block. But as you got older, you realized that those cars were somewhat limited in their range. You could only go so far before you had to turn around and head back home.
But what if there was a way to extend the range of your ride on the car? That’s where the universal remote control comes in! The universal remote control is a handy little gadget that plugs into the cigarette lighter socket of your car and gives you complete control over the car’s movements.
With this device, you can steer the car in any direction, accelerate or brake as needed, and even honk the horn! It’s perfect for those times when you want to take your car for a longer joyride without having to worry about running out of battery power. So how does it work?
The remote control unit itself is very simple – it has just two buttons, one for acceleration and one for braking. To operate the car, simply press down on either button to make it move forwards or backward. The further you press down, the faster it will go!
Turning is also easy – just press both buttons at once and release them when you want to stop turning. It really couldn’t be any simpler! If you’re looking for an easy way to add some extra fun to your ride-on car experience, then pick up a universal remote control today!
Conclusion
A remote control car is a great way to have some fun while spending time with your family and friends. Here are a few tips on how to make a ride on a car remote control.
1. Choose the right car.
There are many different types of remote control cars available, so it’s important to choose one that is right for you. Consider the size of the car, the type of terrain you’ll be driving on, and your budget when making your decision.
2. Read the instructions carefully.
Once you’ve chosen your car, take some time to read through the instructions before you start playing. This will help you understand how the controls work and give you an idea of what to do in different situations.
3. Practice makes perfect.
Don’t be afraid to practice with your new car before taking it out for a spin in public. You can set up an obstacle course in your backyard or driveway and see how well you can maneuver the car around it. The more you practice, the better you’ll get at controlling the car.
4. Have fun! Remote control cars are meant to be enjoyed by everyone, so make sure to have fun with it!